Get started on Postra
Create a mailbox, link SSO, add your domain, and set DNS
New accounts start with a hosted Postra mailbox. Custom domains come after you link single sign-on. The Getting started overlay walks you through it the first time you open mail.
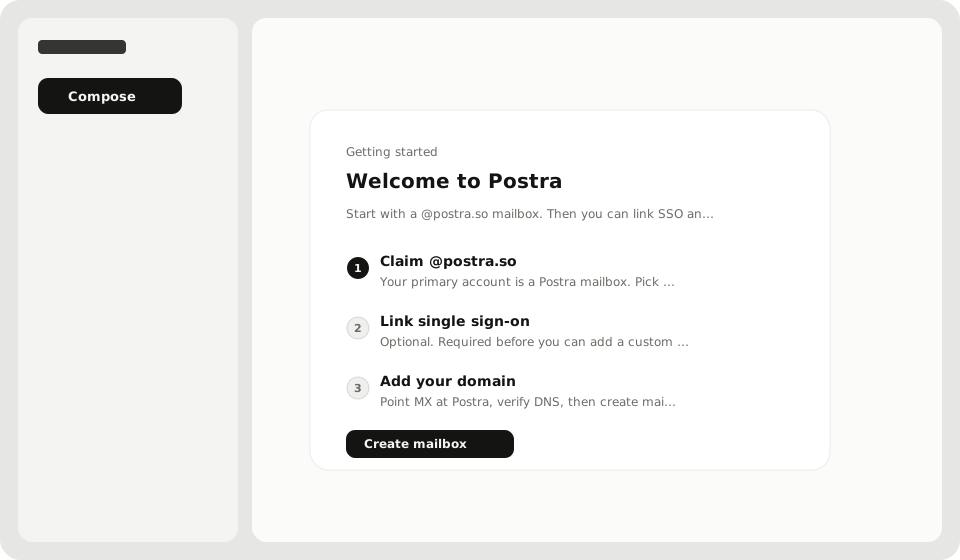
1. Create your Postra mailbox
This is your primary address and how you sign in.
- Open mail. If you have no Postra mailbox yet, Getting started appears
- Pick the name before
@(or keep the one from signup if it is already locked) - Set a mailbox password, at least 8 characters
- Choose Create mailbox
Availability is checked as you type. If the address is taken, pick another.
2. Link single sign-on
SSO is optional for day-to-day mail, but required before you can add a custom domain.
- In Getting started, choose Link SSO, or open Profile → Single sign-on
- Link a provider (for example GitHub)
- Come back to Postra when the provider confirms
Your mailbox password still works for sign-in after you link a provider.
3. Add your domain
- Choose Add a domain (Getting started or Profile → Domains)
- Enter the domain you own
- Add the DNS records we show, especially MX
- Wait for verification, then create the first mailbox on that domain
DNS details and what each record does: Add a domain and set DNS.
If something blocks you
- “Link a single sign-on provider… before adding a domain” means step 2 is still open
- No Getting started overlay: open Profile → Domains or Profile → Single sign-on directly
- Need a hand: Support Center from the profile menu, or chat from this Help site